Paper Folds around 3D Shapes
2 minutes read
In the previous post, I showed doing background tiling shapes. However, consider this being printed out:

And the 3D view
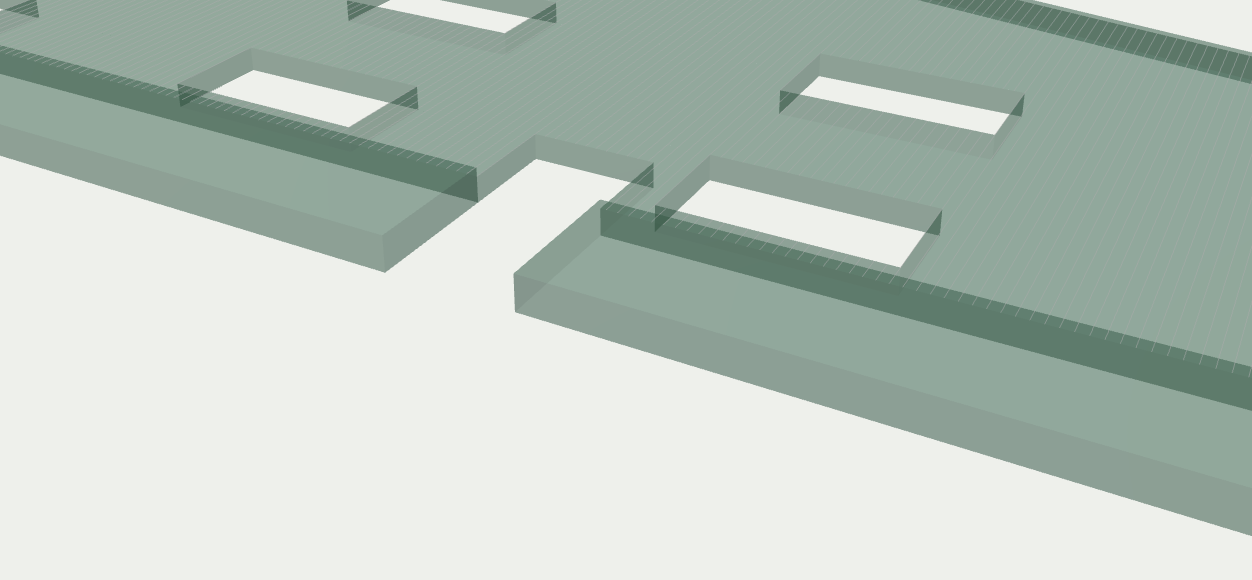
See the ledge and the door? As is, that strip of paper would just end at the door, and the 3D door material would just be exposed. What we really need to do is to print a little longer and wrap around the corner getting that extra 2.5mm of material.
To do this we've introduced the "wrap" command:
part brick_base:
    parameters:
        width

    group --thickness THICKNESS_2 --tile red_brick_image --printable:
        wrap top
        wrap cut
        rect width BRICK_HEIGHT
These commands say "keep the pattern going to meet the next Z level". For the "wrap top" command, that's to the wall. For the "wrap cut" command, that says wrap all the cuts - i.e. in this case the door.
When you go to print, this is what you get - notice the little fold marks.

The "--printable" says print these out as independent parts specifically for this use case. I know that wrapping bricks doesn't necessarily make sense - especially "wrap top" - but over short distances it is fine.