"Industrial Building with Brick Base" Part 2
4 minutes read
In part 1, we looked at the makeacut model for our industrial building.
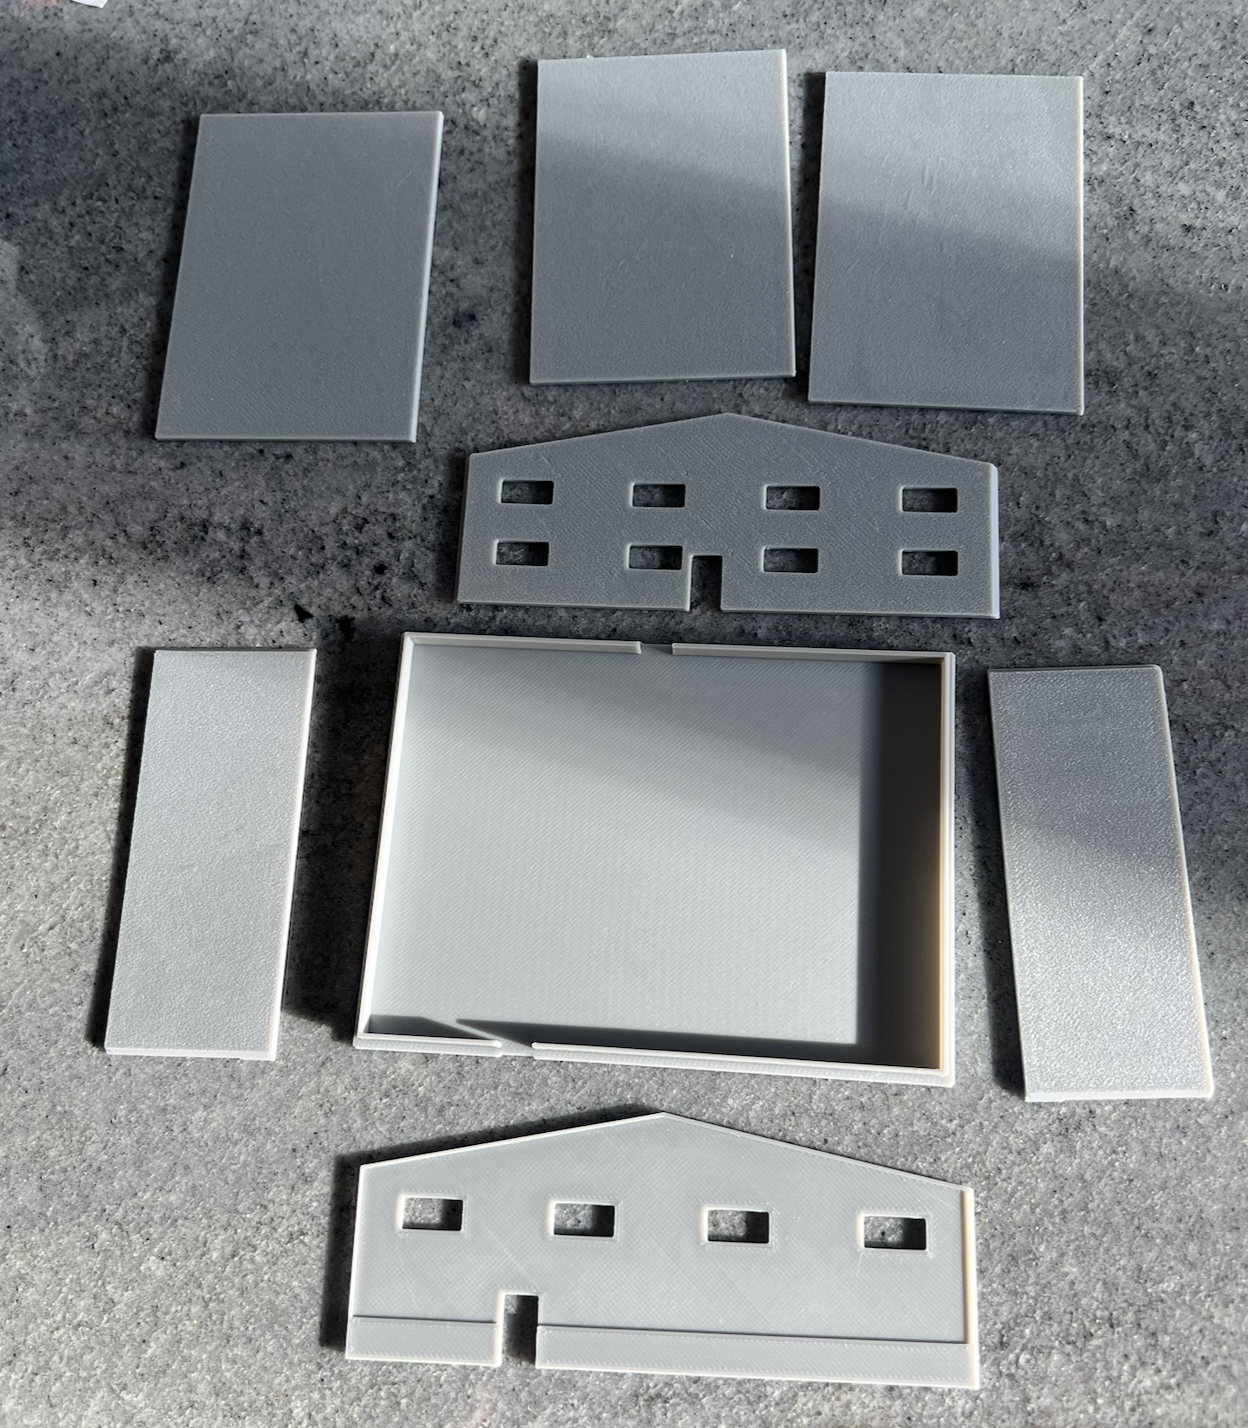
Out of the package - note the three roofs! This was an error by the person I contracted to do the printing, but quickly corrected.
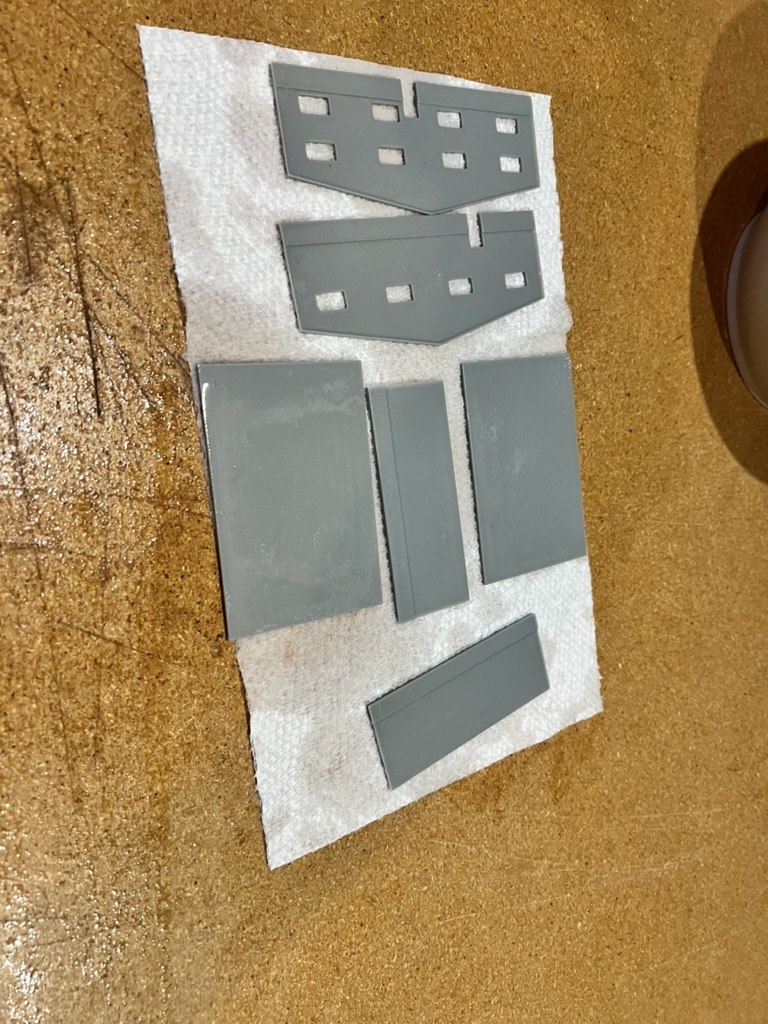
Wet sanded:
Partially assembled: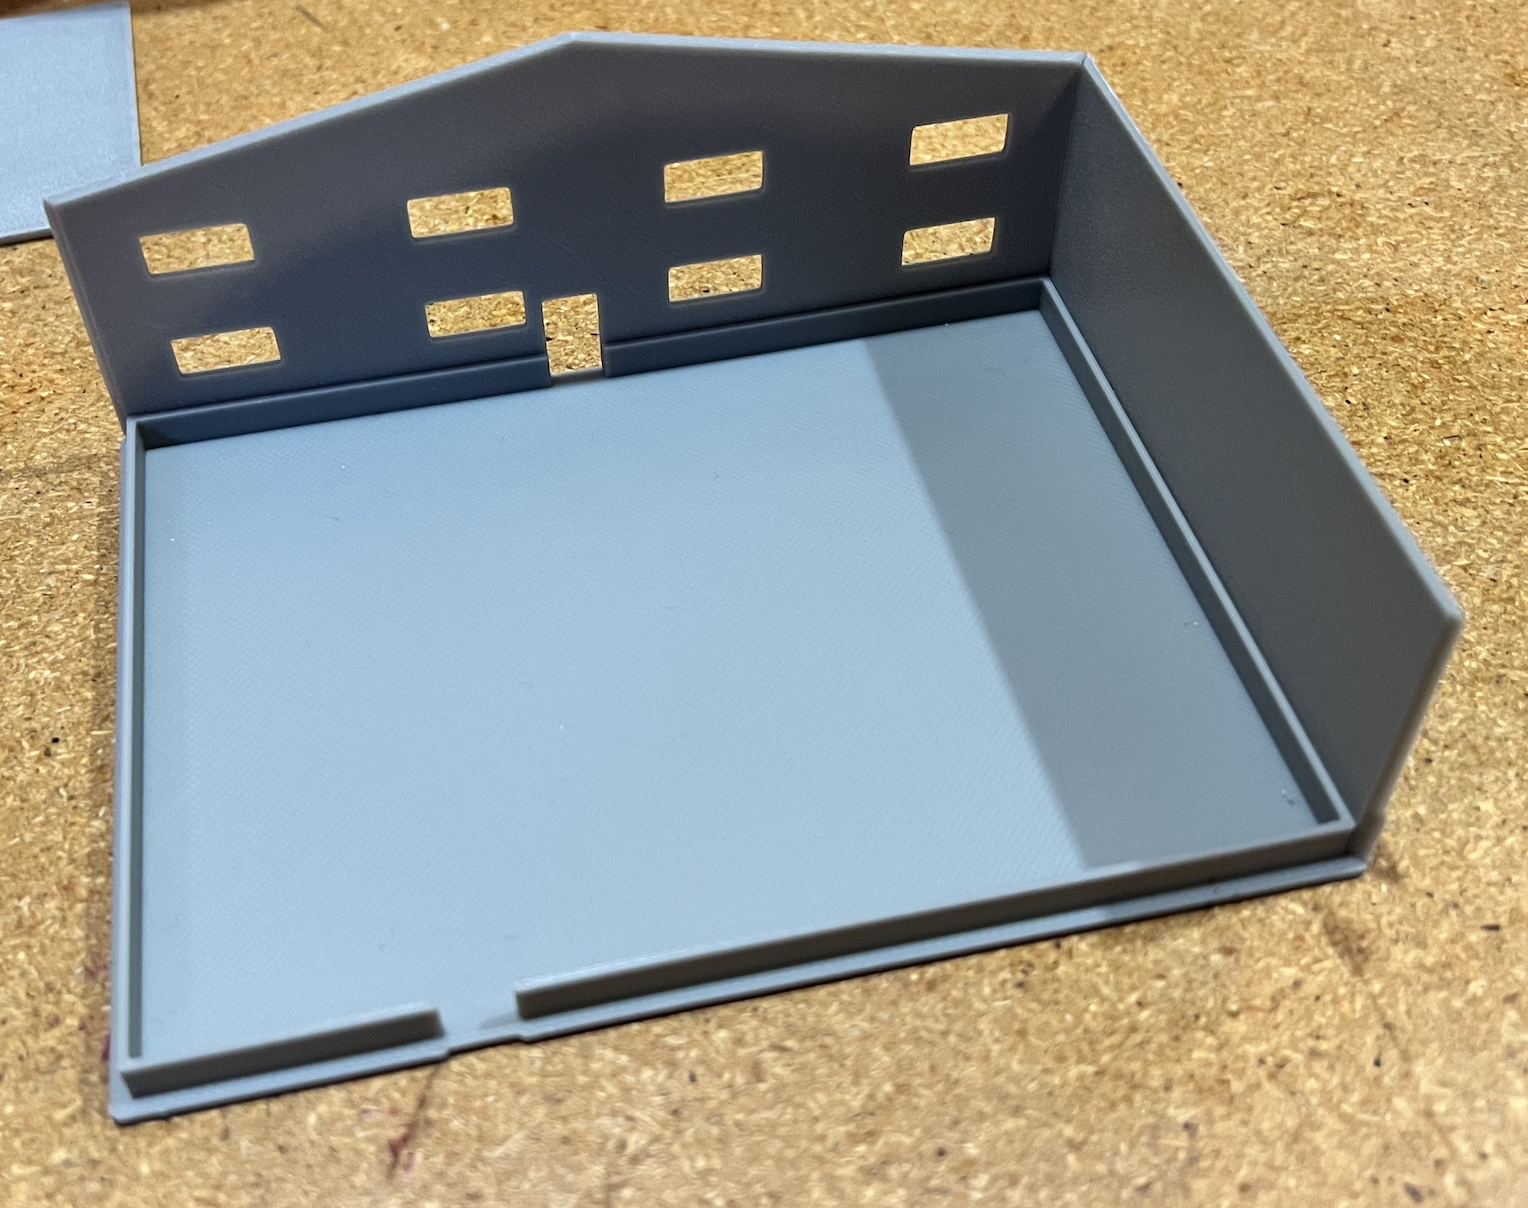
Almost there, stay on target: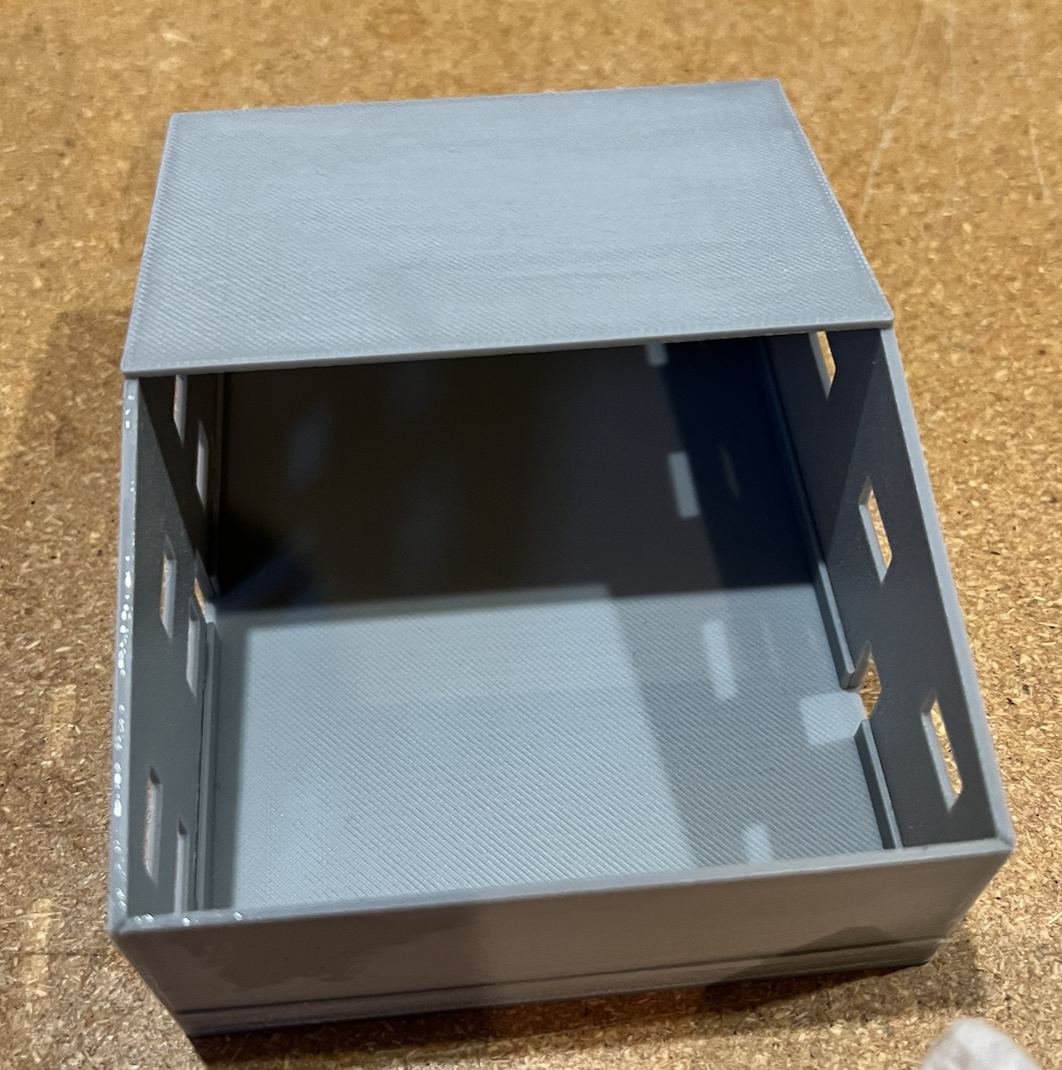
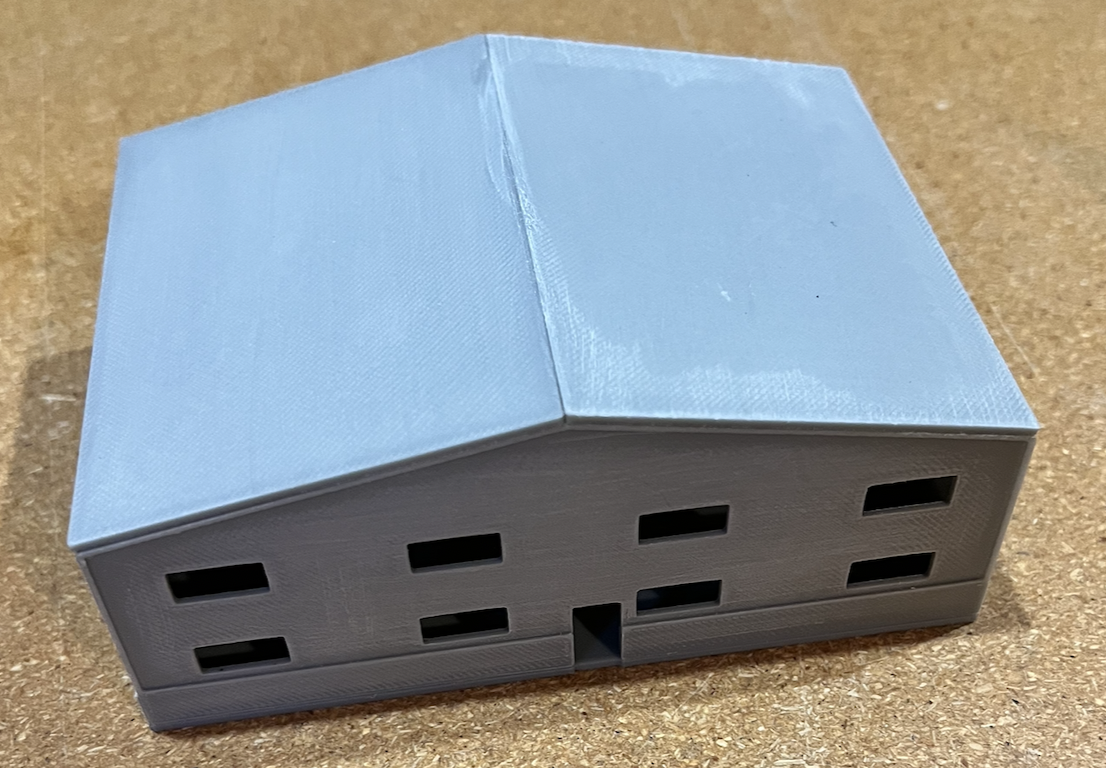
Completed (I've added some filler and sanded it since):
What went right:
- all the bevelling worked perfectly - everything exactly fitted together
- the base construction was perfect - the software creates this for me automatically
- the FDM printing worked fine but there's noticeable print artifacts. If I do Scale Scenes paper printing over it, no issues. I will see if I can get access to a resin printer for an upcoming project
What went wrong:
- there should have been brick and corrugated metal patterns printed: there was not. I think this is because of the depth I defined for grooves, which was less than the resolution of the printer
- I should have put a loading bay in the back of the building!
- I need to get better at sanding
What next:
- I'm going to paint this with an airbrush and see how it looks. I'm off a trip for two weeks, so this will be a later project
- I'm going to add better repeating pattern / paper printing support for the textures such as roof and bricks. Still not 100% sure what I want to do, but this really is an experiment
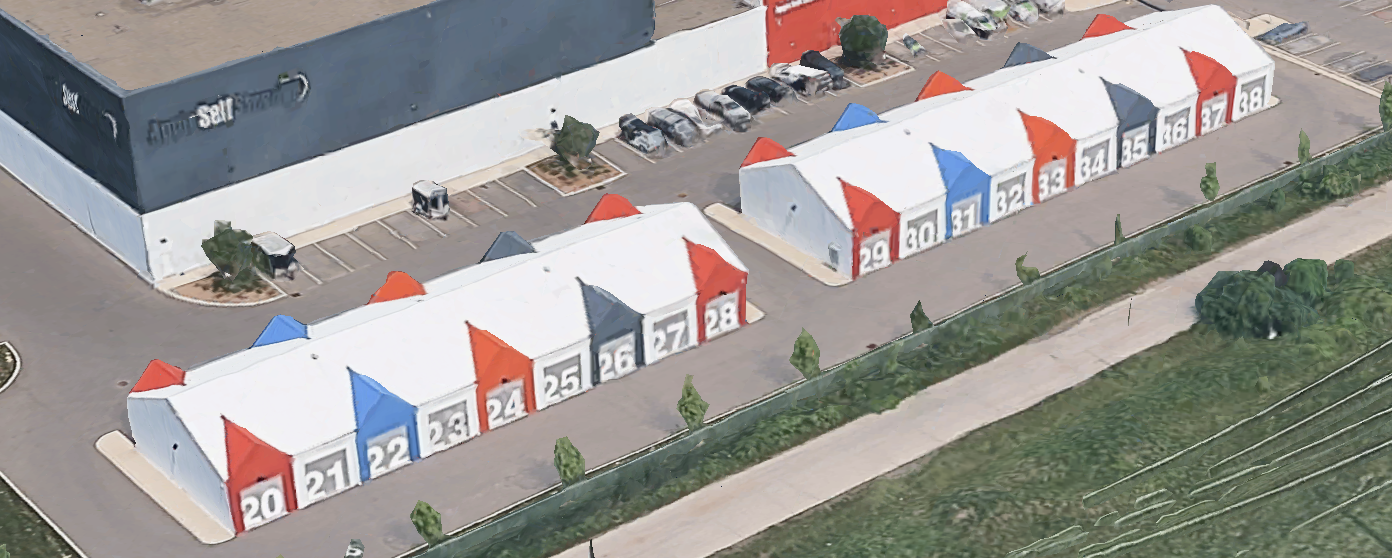
- I'll bring printing a bunch more models and partial models to see how they look - I'm especially excited by my Apple Self Storage project.
Part 3 of this series will be the painting and papering of the model. That'll be in two weeks, but I'll have different models up soon.
Bonus Charm picture: